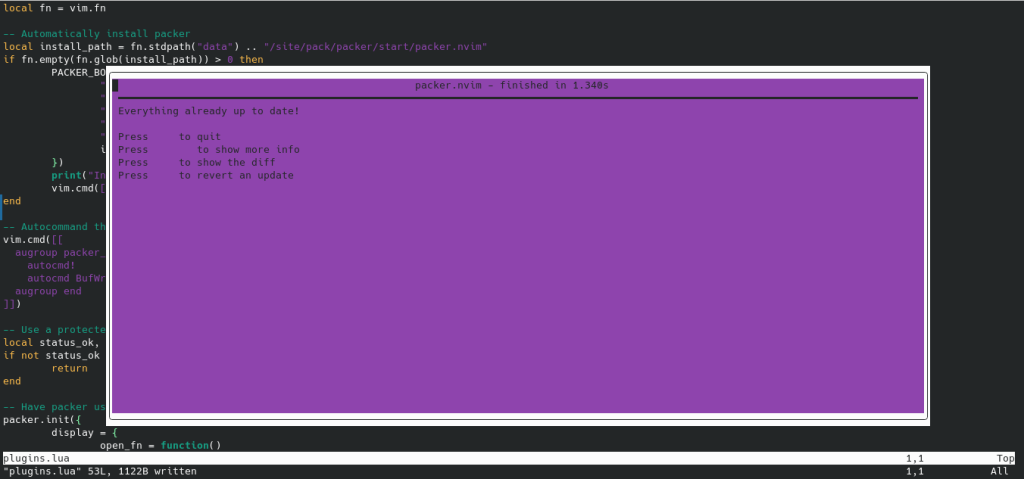
Neovim is a powerful text editor that is a fork of the popular Vim editor. The main advantage of Neovim over Vim is its ability to use plugins for customizing the text interfaces. Neovim offers numerous plugins, with Packer being the most popular plugin manager specifically designed for Neovim.
In this blog post, I’ll guide you through the process of installing Packer and demonstrate how you can utilize it to install other plugins.
Table of Contents
Prerequisites
Before proceeding with the installation and usage of Packer in Neovim, ensure that you have the following packages installed on your system:
Neovim: To install the Packer plugin manager, you need to have Neovim installed first. Neovim is an enhanced version of the Vim text editor, offering improved features and performance.
Git: Packer relies on Git to clone repositories and install plugins in Neovim. If Git is not already installed on your system, you’ll need to install it before proceeding with the Packer installation.
You can install Neovim and Git on different Linux distributions using the following commands:
For Ubuntu/Debian:
sudo apt-get update
sudo apt-get install neovim git
For Arch Linux:
sudo pacman -S neovim gitFor Fedora:
sudo dnf install neovim gitFile Structure of Configuration Files
Unlike Vim, Neovim offers highly customizable features and introduces a new Lua configuration option. To follow this tutorial, you should have the following file structure:
~/.config/
└── nvim
    ├── init.lua
    └── lua
        └── plugins.lua
Every time Neovim starts, it checks the init.lua file and executes the commands within it. To install Packer, we need to edit the init.lua configuration file and add the necessary commands to install and use Packer in Neovim.
If you haven’t created the nvim and lua directories previously, you need to create them first. Use the following command to create these directories:
mkdir -p ~/.config/nvim/luaThis command will create the nvim and lua directories with the specified file structure.
Once you’ve created the directories, you’re ready to proceed with the installation of Packer in Neovim.
Installing Packer
After installing Neovim and Git, you can proceed with the installation of Packer. This section will guide you through the process of downloading the Packer repository and configuring it for use in Neovim.
Packer is a plugin manager for Neovim, and it is also a plugin itself. Therefore, to install other plugins, you need to install Packer first. Follow these steps to install Packer on your system:
Create a Lua configuration file by navigating to the lua folder:
cd ~/.config/nvim/luaCreate a file named plugins.lua by opening it with Neovim:
nvim plugins.luaInside the file, copy and paste the following configuration:
local fn = vim.fn

-- Automatically install packer
local install_path = fn.stdpath("data") .. "/site/pack/packer/start/packer.nvim"
if fn.empty(fn.glob(install_path)) > 0 then
	PACKER_BOOTSTRAP = fn.system({
		"git",
		"clone",
		"--depth",
		"1",
		"https://github.com/wbthomason/packer.nvim",
		install_path,
	})
	print("Installing packer close and reopen Neovim...")
	vim.cmd([[packadd packer.nvim]])
end

-- Autocommand that reloads neovim whenever you save the plugins.lua file
vim.cmd([[
  augroup packer_user_config
    autocmd!
    autocmd BufWritePost plugins.lua source <afile> | PackerSync
  augroup end
]])

-- Use a protected call so we don't error out on first use
local status_ok, packer = pcall(require, "packer")
if not status_ok then
	return
end

-- Have packer use a popup window
packer.init({
	display = {
		open_fn = function()
			return require("packer.util").float({ border = "rounded" })
		end,
	},
})

-- Install your plugins here
return packer.startup(function(use)
	use ("wbthomason/packer.nvim") -- Have packer manage itself


	if PACKER_BOOTSTRAP then
		require("packer").sync()
	end
end)
Credit: Neovim-from-scratch
You need to use this configuration file repeatedly to install or remove new plugins in Neovim.
After pasting the code, save and quit your Neovim editor using the :wq command.
Neovim is still unaware of the configuration files you’ve created, as it only checks the init.lua file. So, whenever you create new configuration files in the future, you’ll need to define them in the init.lua file to let Neovim recognize them.
To open the init.lua file, use the following command. If the file doesn’t exist, Neovim will create it:
nvim ~/.config/nvim/init.luaAfter opening the file, add the following lines at the top:
require("plugins")You must add this line at the beginning of the document since other configuration files depend on Packer.
Save and quit the init.lua file using the :wq command. To start installing Packer and other plugins (if any), open the plugins.lua file with the following command:
nvim ~/.config/nvim/lua/plugins.luaSave the file with :w command and you’ll see that Packer and other plugins are being installed.

Managing Plugins with Packer
Now that you’ve installed Packer, you can proceed to install various plugins using Packer. Packer allows you to easily download, install, update, and remove plugins. By installing these numerous plugins, you can customize your Neovim workspace to your liking.
Installing Plugins
Installing plugins with Packer is straightforward. First, identify the plugin you want to install and find its GitHub repository. Then, define the plugin in the plugins.lua file as follows:
use('username/repo')Replace 'username/repo' with the GitHub username and repository name of the plugin you want to install.

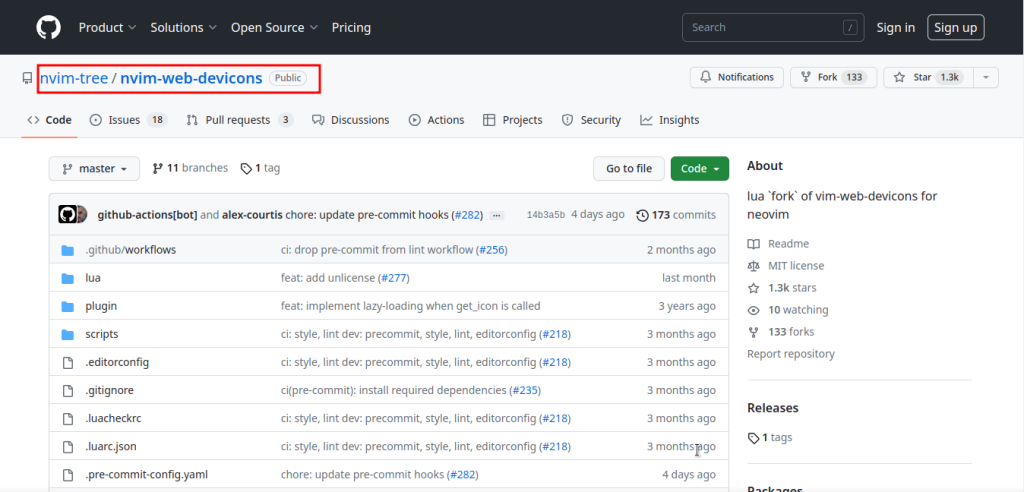
For instance, if you want to install the popular “nvim-web-devicons” plugin, add the following entry to the previously created plugins.lua configuration file:
-- Install your plugins here
return packer.startup(function(use)
	use ("wbthomason/packer.nvim") -- Have packer manage itself

	--nvim-web-devicons
	use("nvim-tree/nvim-web-devicons") -- Add entry here to install the plugin

	if PACKER_BOOTSTRAP then
		require("packer").sync()
	end
end)
After adding the plugin’s name, save the file with :w command, and Packer will automatically start downloading the files.
Packer provides different commands for installing, updating, and syncing plugins. To install a plugin, open Neovim and enter the following command:
:PackerInstallUpdating Plugins
Periodically updating plugins to their latest versions is important for bug fixes and new features. You can easily update plugins using Packer. To update your packages, open Neovim and enter the following command:
:PackerUpdateRemoving Plugins
If you no longer need a specific plugin, you can remove it from your configuration using Packer. To remove a plugin, open the plugins.lua file located at:
nvim ~/.config/nvim/lua/plugins.luaThen, remove the corresponding GitHub user and repository from the configuration file, and save the changes. After that, open Neovim and enter the following command:
:PackerSyncPacker will remove the specific plugin from Neovim.
Custom Keybindings
You can create key bindings for Packer’s essential commands, such as packer install, packer update, and packer sync, and execute these commands with shortcuts. To create key bindings, you will need the Which Key plugin, which you can install with Packer. Follow our guide on installing and setting up key bindings with Which Key for detailed instructions.
Conclusion
Packer is a must-have tool for the Neovim editor, as it allows you to access numerous plugins available for Neovim. In this blog post, I’ve covered how you can install Packer in Neovim. Even if you’re an absolute beginner, you can follow this tutorial and easily install Packer.


